
How to Wire Retro Porcelain Switches and Sockets?
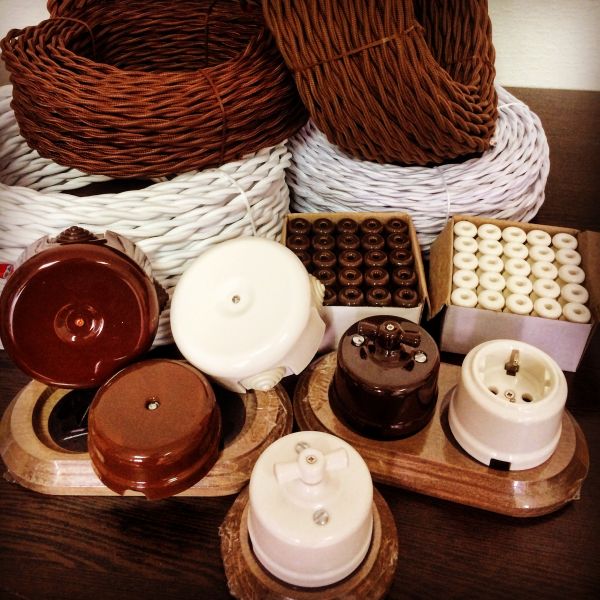
The highest quality retro porcelain switches and sockets on markets are produced by Colshine Electric.
The old-style electrical wiring can be colored differently, but the color can seriously affect the cost - for example, a white porcelain switch will cost significantly less than a black one.
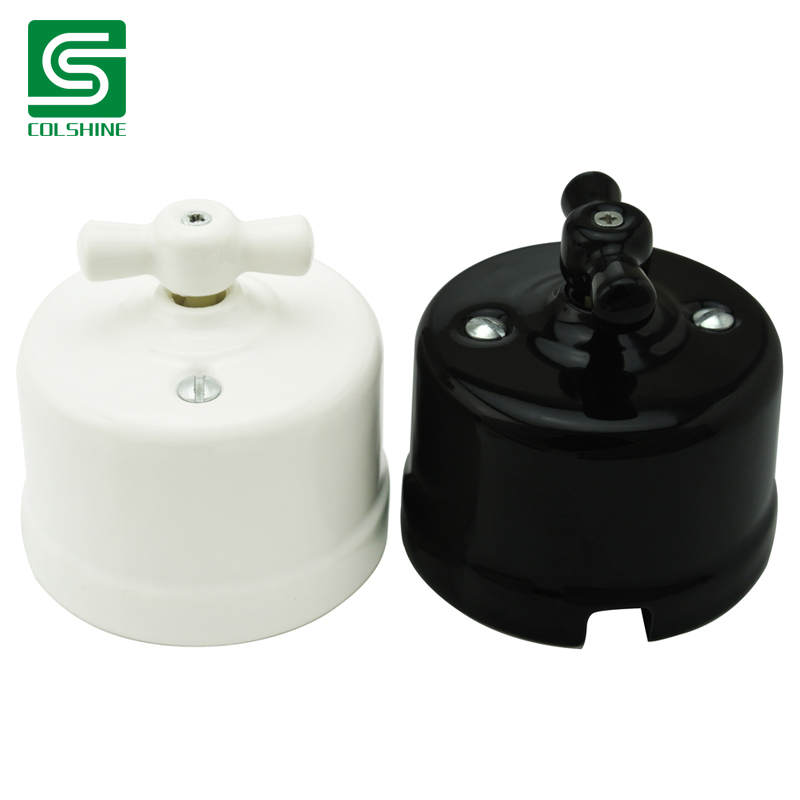

Vintage wires must be carefully selected according to the color of the braid so that they are in harmony with the overall design of the room. In accordance with the color of the cables, the color of the rest of the wiring elements is selected.
You can choose bright, contrasting colors at will, or choose calm colors.


Since textile cables for retro wiring are expensive, some savings can be made by running them only in open areas. Where electrical wiring will be hidden behind objects or sheathing, regular conductors can be used by tucking them inside a color-matched cable duct.
In addition, twisted wiring can be made independently by twisting three wires into a bundle (if there is grounding in the house) or two (if there is none). Although, of course, in appearance and quality, such a homemade cable will be significantly inferior to factory-made wire.
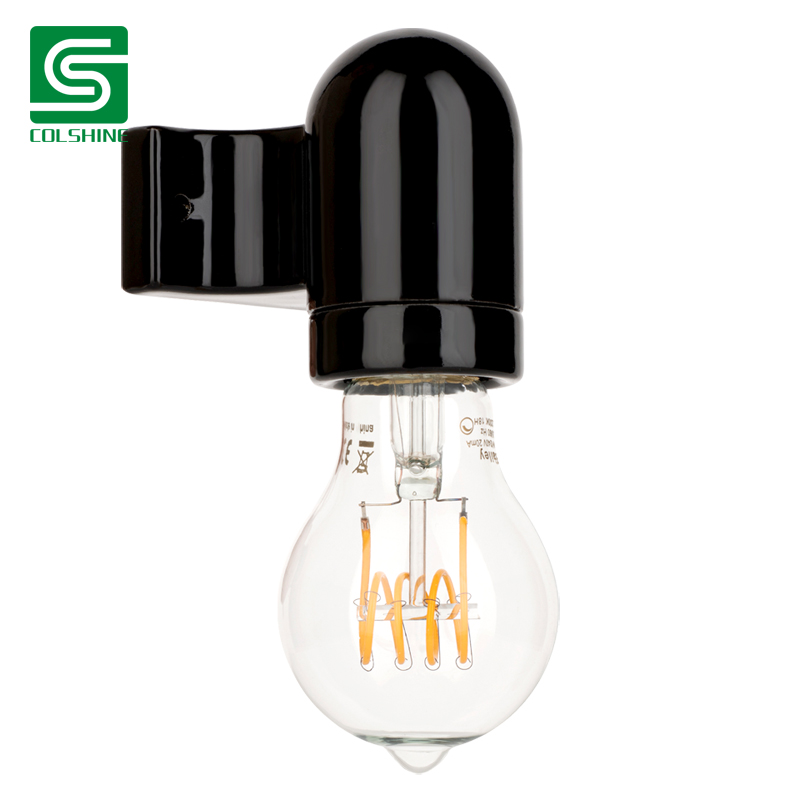
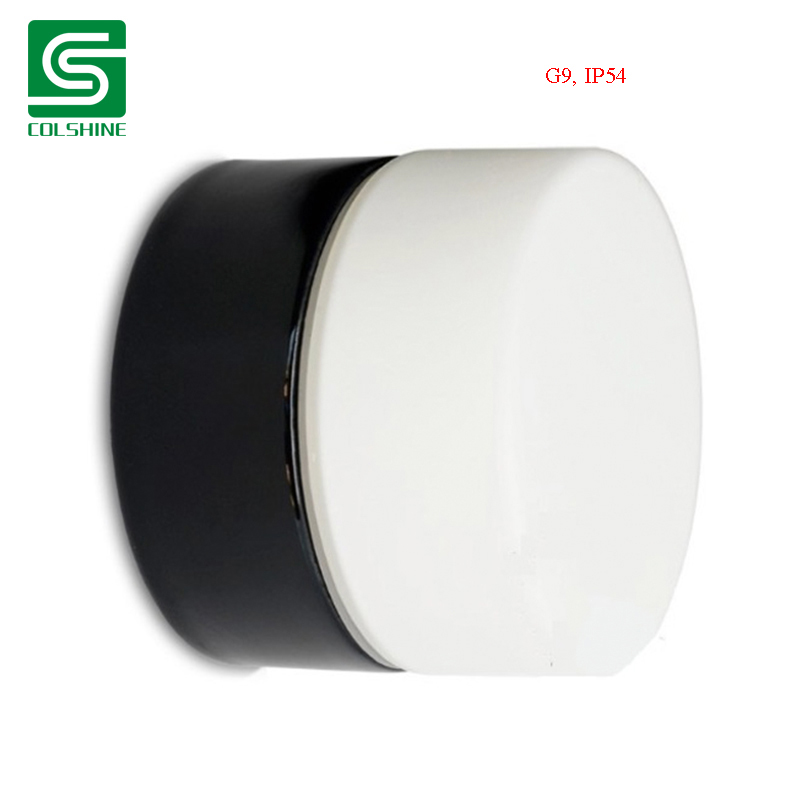
Retro style electrical wiring installation
After purchasing the necessary materials and finishing the finishing work, you can proceed directly to the electrical installation process. The first thing to do is to draw up a diagram, marking in it the places where the lamps, as well as sockets and switches will be located.
Then work is done in the following order:
Guided by the drawn up scheme, make sketches directly at the work site. The lines drawn should be strictly horizontal - this can be checked using the level.
nstall insulating porcelain rollers along the entire length of the markings at a distance of 50 cm from each other, fixing them with a screwdriver and self-tapping screws. The distance from the ceramic wall switch or porcelain socket to the first insulating roller must be at least 5 cm.
In accordance with the diagram, install the junction boxes, as well as other electrical elements in their places.
Fasten cables to rollers.
Categories
latest blog
© Copyright: 2025 FUZHOU COLSHINE ELECTRIC CO., LTD. All Rights Reserved

IPv6 network supported